
How to Change Apple Watch Faces: All you need to know to choosing, customising, and tweaking your shiny new smartwatch’s face.
Whether you’ve got a first or second-generation Apple Watch, changing and customising the watch face is a doddle.
Apple provides a load of options when it comes to new faces, but there’s also a bunch of third-party designs on offer to ensure your wrist looks as classy as possible.
With that in mind, we thought we’d give you a quick rundown of the whole Apple Watch face thing, and provide all you wearable enthusiasts with some tips on how to quickly change Apple Watch faces and customise their design.
HOW TO CHANGE THE APPLE WATCH FACE
First things first, how do you actually change the watch face? Well, it couldn’t be any simpler. The easiest way is to swipe left or right, from edge-to-edge, on your watch face. That will cycle through the various watch face designs and you can simply stop when you see something you like the look of.
Alternatively, you can hard press – or ‘Force Touch’, to use Apple’s terminology – on the watch face and it will take you to the face-switching screen. From here, you can swipe left and right to scroll through the various designs. Once you see one you like, just tap it to set it as your new watch face.
CUSTOMISING THE APPLE WATCH FACE
Once you’ve chosen a design you like, you’ll be pleased to learn there are further customisation options you can use to tinker with the watch face design. How do you unlock these marvellous features? Well, it’s pretty much the same process as before.
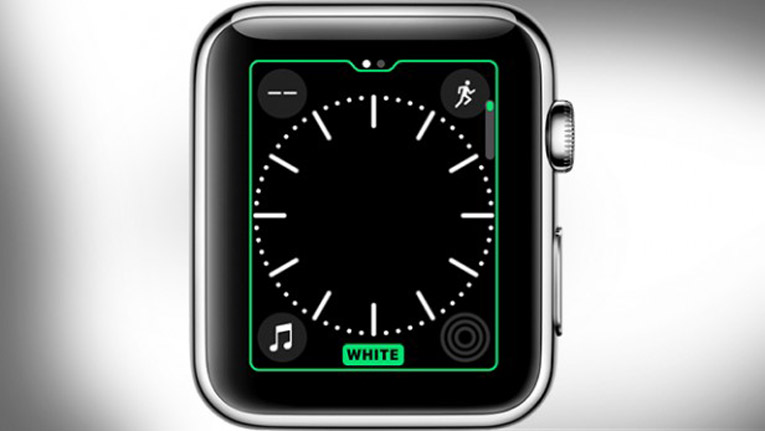
Force Touch the watch face display to bring up the switching screen and just tap the ‘Customise’ button that appears below the watch face itself.
Now, you should be able to swipe left and right to highlight a specific part of the watch face. Once you’ve highlighted the element you want, just turn the digital crown to customise it. This usually means you can change the colour of the specific part of the face you’ve highlighted.
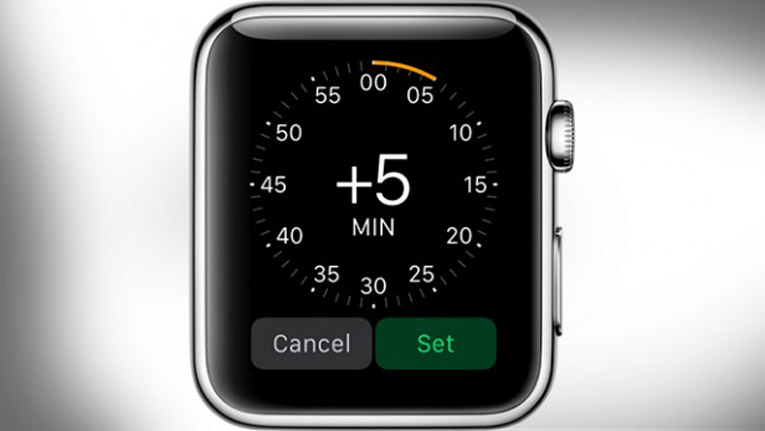
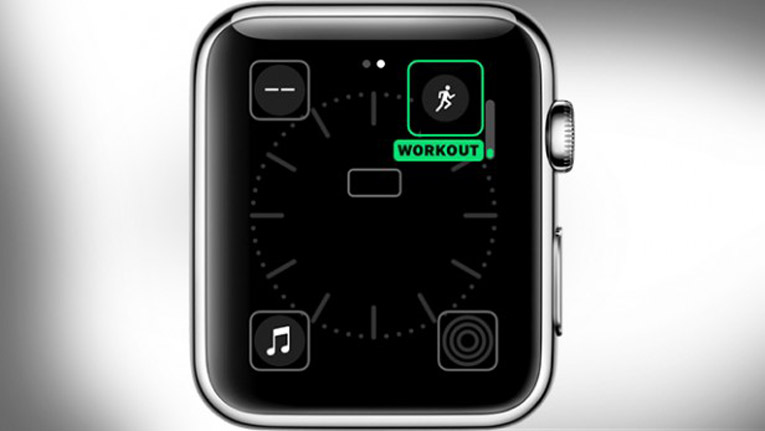
Apple also allows you to add what it calls ‘complications’ to the watch face. This term essentially refers to any area of the watch face that provides information other than the time. So, if your chosen face contains information such as the date, fitness data, or music details, you can customise that too.
To do so, simply hard press the screen, tap ‘Customise’, then tap the particular complication you want to edit. Or you can tap ‘Customise’ then scroll all the way to the left to edit the complications from there.
Whichever method you use, just press the digital crown to save the changes you’ve made, then tap the watch face to set it as your current face. It’s also worth noting that not all watch faces are customisable, and not all allow you to add complications. Most designs come with some extra customisability, though.
ADDING COMPLICATIONS
The customisation doesn’t quite stop there. You can also add more complications and other information from third-party apps to your watch face, depending on which design you’ve chosen.
It’s fairly easy to figure out which apps provide Apple Watch complications. Just open the Apple Watch app on your iPhone, tap the My Watch tab, and go to Complications. From here, you can add new complications by tapping the + symbol, or remove them using the – symbol and then tapping Remove.
Once you’ve added a new complication to the Apple Watch app on your iPhone, you should be able to go into the customise screen on the watch itself, select the new complication, and customise it.
MAKING MULTIPLE VERSIONS OF YOUR WATCH FACE
Managed to get your watch face looking just how you like? That’s wonderful news, but perhaps you’re intrigued to see what other breath-taking customisation designs you can come up with. In which case, you’ll be delighted to hear you can make multiple versions of your chosen face.
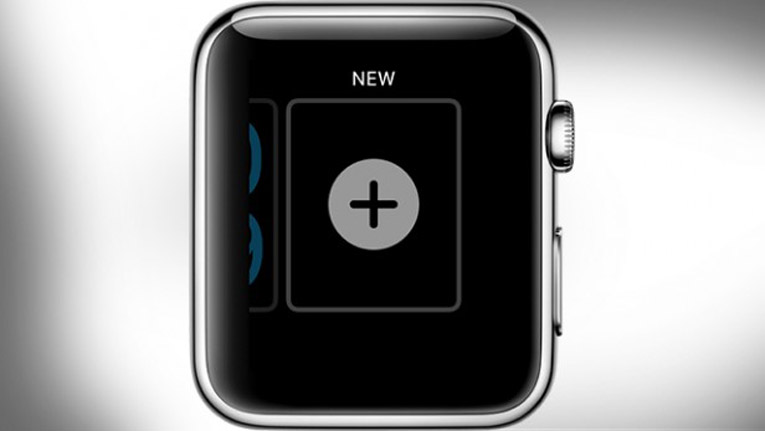
All you have to do is hard press the screen when it’s on the watch face, then scroll all the way to the right and tap the + symbol. Now, you can just turn the Digital Crown to choose a face, and tap the one you want. You can then customise the face by firmly pressing the display again and tapping Customise.
Using this method, you’ll be able to add multiple versions of the same watch face and customise each to look a bit different. Isn’t technology wonderful?
DELETING WATCH FACES
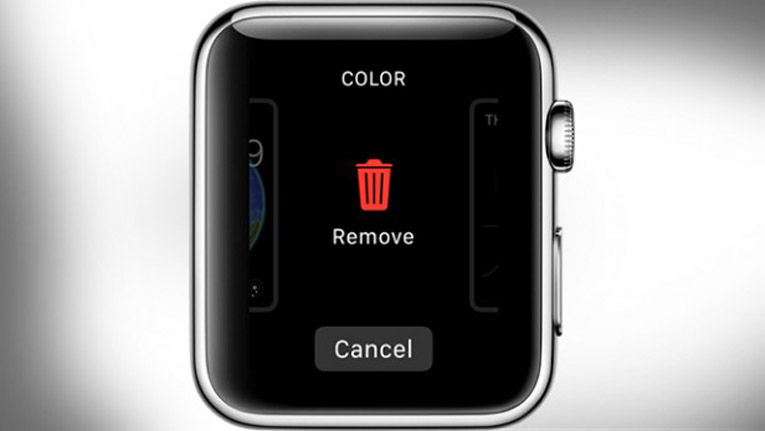
If you’ve had enough of your current watch face, you can always banish it forever. To delete a watch face, hard press the display, then swipe to the face you want to delete. Once you’ve found it, it’s simply a case of swiping up and tapping Remove.
Sourse: trustedreviews.com